(NestJS-2) Configuring ConfigModule in NestJS
In NestJS, the ConfigModule is a powerful utility module provided by the framework to facilitate configuration management in an application. It simplifies the process of loading configuration variables from various sources such as environment variables and configuration files.
If you’re new to NestJS, we recommend checking out our previous article Getting Started with NestJS. This guide covers the basics of setting up a NestJS application, providing a solid foundation for understanding how to leverage the ConfigModule effectively.
1. Install the required dependencies:
$ npm i --save @nestjs/config2. Create and Populate the .env File
Create a .env file in the root of your project directory. This file will hold your environment-specific variables. A sample .env file might look like this:
APPNAME = 'NestJS-Application'
APPVERSION = 'v1.0'
APP_PORT = 4000

DB_USERNAME = 'root'
DB_PASSWORD = 'root'
DATABASE = 'nestjs'
3. Register Config Module
Create a module as config to config all the configurations in a single module which are required for our application.
$ nest g module configRename the module name from ConfigModule to MyConfigModule in ` config.module.ts and app.module.ts.
// config.module.ts
import { Module } from '@nestjs/common';
@Module({})
export class MyConfigModule {}
// app.module.ts
import { Module } from '@nestjs/common';
import { AppController } from './app.controller';
import { AppService } from './app.service';
import { MyConfigModule } from './config/config.module';
@Module({
imports: [MyConfigModule],
controllers: [AppController],
providers: [AppService],
})
export class AppModule {}Next, create a configuration file (e.g., configuration.ts) to load configuration objects in config folder.
This allows you to group related configuration settings by function (e.g., database-related settings), and to store related settings in individual files to help manage them independently.
// config/configuration.ts

export default () => ({
  app: {
    name: process.env.APPNAME,
    version: process.env.APPVERSION,
    port: process.env.APP_PORT
  },
  mysql: {
    username: process.env.DB_USERNAME,
    password: process.env.DB_PASSWORD ,
    database: process.env.DATABASE,
  }
});
Then, we need to import and configure the MyConfigModule in your config.module.ts file.
// config.module.ts
import { Module } from '@nestjs/common';
import { ConfigModule } from '@nestjs/config';
import configuration from './configuration';

@Module({
    imports: [
        ConfigModule.forRoot({
            load: [configuration], //this is the file where we loaded the objects
            envFilePath: '.env', //In production server use your desired env filename Ex.production.env in place of .env
            isGlobal: true, //If "true", the ConfigModule will registers as a global module in application. can be accessable in any module
        })
    ]
})
export class MyConfigModule { }
4. Accessing Custom Configuration
Once ConfigModule is set up successfully, Now we can access the config objects in any controller or service using standard constructor injection as ConfigService:
constructor(private configService: ConfigService) {}Inject ConfigService into your classes where you need to use configuration variables like as follows:
// app.service.ts:
import { Injectable } from '@nestjs/common';
import { ConfigService } from '@nestjs/config';
@Injectable()
export class AppService {
constructor(private readonly configService:ConfigService){}
getHello(): string {
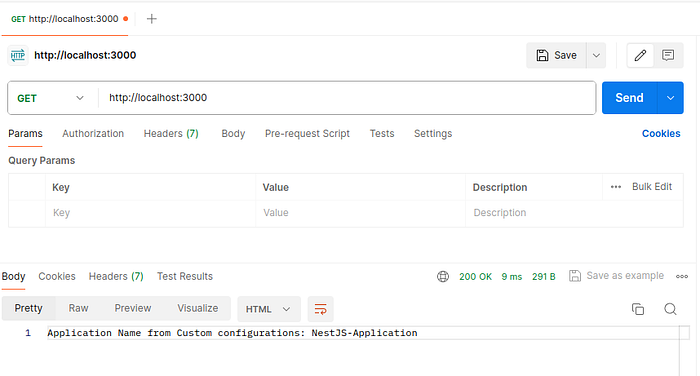
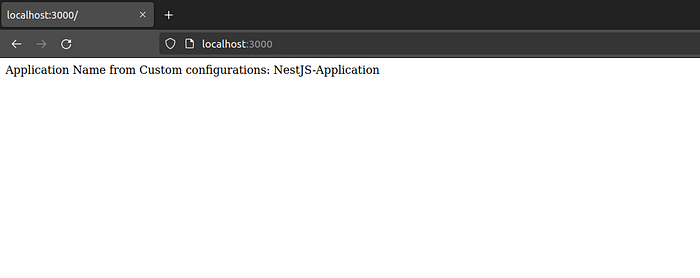
return `Application Name from Custom configurations: ${this.configService.get<string>('app.name')}`;
}
}Now we may get a doubt that, In class we can use constructor injection then what about main.ts It have only bootstrap function which create a instance of Nest Application. For this, the NestJS provides a default get method. The getmethod retrieves an instance of either injectable or controller, otherwise, throws exception. For example:
import { NestFactory } from '@nestjs/core';
import { AppModule } from './app.module';
import { ConfigService } from '@nestjs/config';

async function bootstrap() {
  const app = await NestFactory.create(AppModule);
  const configService = app.get(ConfigService);

  // Retrieving the application port from the configuration or using the default value of 3000
  const port = configService.get<number>('app.port', 3000); // Defaults to 3000 if not specified

  await app.listen(port);
  // Logging the application URL to confirm successful startup
  console.log(`This application is runnning on: ${await app.getUrl()}`)
}
bootstrap()
Congratulations!! 🥳 You have successfully set up your NestJS application with custom configuration management using ConfigModule. Now, let's proceed to test your application using web browser or Postman.
5.Testing
Now start the application in the terminal or command prompt using the command below in the root directory path. This command will start the HTTP server on the port you have defined in the src/main.ts file:
$ npm run startwe have another command which will watch the file changes in the application and reload it on save:
$ npm run start:devIf application is running, you can use web browse or postman to test, use base request url http://localhost:3000
Conclusion
By following these steps, you can effectively manage your configuration settings in a NestJS application using the ConfigModule. This approach allows you to group related settings, load them from environment variables, and access them easily throughout your application.
Check out the next article to learn how to configure MySQL Database with TypeORM.
To use different ENV files in different operating systems. Please refer my article.
GitHub Repository:
You can find the complete code for this implementation on GitHub: bhargavachary123
Contribution
If you like my Article, please, consider donating through Buy Me a Coffee: https://buymeacoffee.com/bhargavachary.
If you found this article useful, please consider leaving a clap (👏) and a comment.
Thanks for reading this far!